Set-up

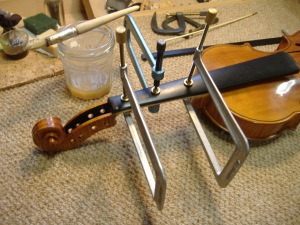
First thing after varnishing is to refit the fingerboard. It may look like the fingerboard that was fitted for temporary set-up, but it has now been modified to reduce it's weight. The scooped area on the undersurface of the overhang has been extended and the thickness reduced.

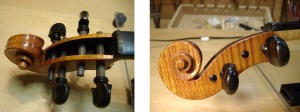
I am now fitting a set of ebony Hill pattern pegs using the tool previously described in "Temporary Set-up". When they are fitted with the correct projection on the thumb grip side they stick out beyond the pegbox on the other side. They are reduced to be almost flush with the pegbox wall before being rounded and polished. I make tiny pin pricks to identify the pegs so that they can be replaced in the correct holes if they are removed at any time e.g. for string changing, peg lubrication etc. (I picked up this tip from the late Wilf Saunders). For the photo I have emphasised the pin pricks with fine chalk dust and they can be seen on the "E" and "A" pegs in the right hand picture.

The final touches have now been added - an Aubert bridge, a handmade ebony tailpiece from Bois d'Harmonie and an ebony chinrest. The player of course has to be happy with the instrument before finally purchasing it, so Conor has been "road testing" the fiddle around some of the traditional musical venues of Belfast (mostly pubs!). This has given him the opportunity to get to know it and also to let others play it so that he can hear it as a listener, rather than "under the ear". I am glad to say that he is very pleased with it and tomorrow is heading off with it for a three-gig tour in Switzerland with the Irish traditional music band Craobh Rua.
